Natural light is one of the most powerful tools in a photographer's arsenal, yet it's often the most challenging to master. Understanding how to work with light in various conditions can transform your photography from ordinary to extraordinary. In this comprehensive guide, we'll explore techniques for harnessing natural light to create stunning images in any environment.
Understanding the Quality of Light
Before diving into specific techniques, it's essential to understand the different qualities of natural light:
- Hard Light: Creates strong, defined shadows and high contrast. Typically found in direct midday sun.
- Soft Light: Produces gentle, diffused shadows and lower contrast. Common during overcast days or in shade.
- Warm Light: Has a golden hue, typically occurring during golden hour (shortly after sunrise or before sunset).
- Cool Light: Has a blue tint, often found during blue hour (just before sunrise or after sunset).
The quality of light affects the mood, atmosphere, and emotional impact of your photographs. Learning to recognize these qualities is the first step toward mastering natural light.
Golden Hour: The Photographer's Paradise
The golden hour—approximately the first hour after sunrise and the last hour before sunset—is often considered the holy grail of natural lighting in photography. During this time, the sun sits low in the sky, creating:
- Warm, golden tones that add richness to your images
- Soft, directional light that adds dimension without harsh shadows
- Long shadows that create depth and visual interest
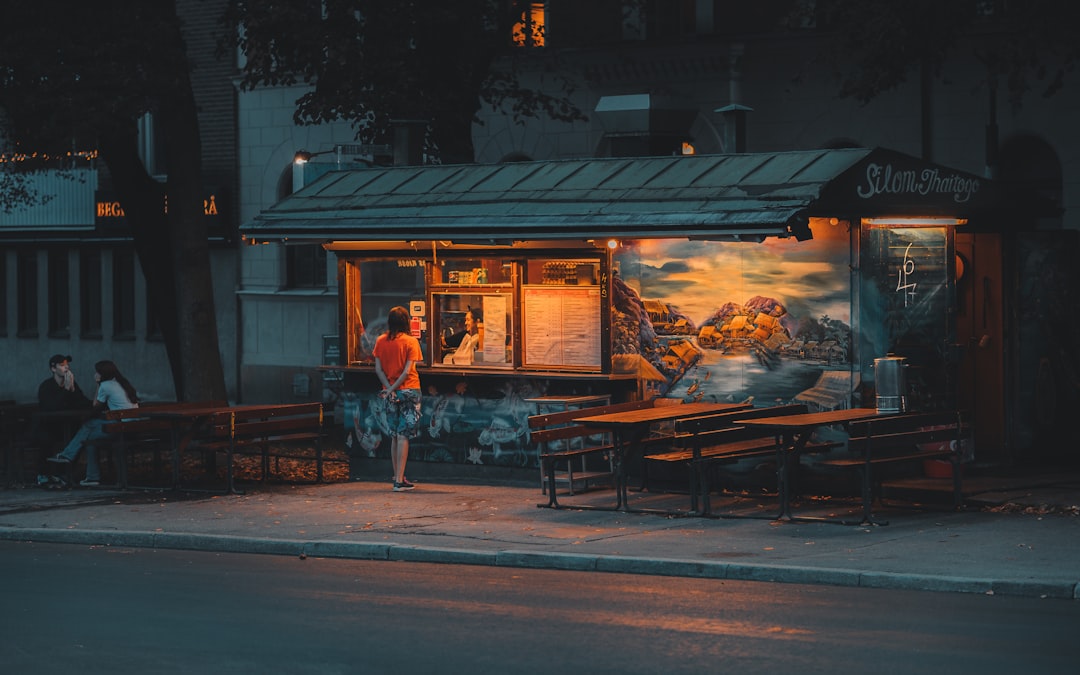
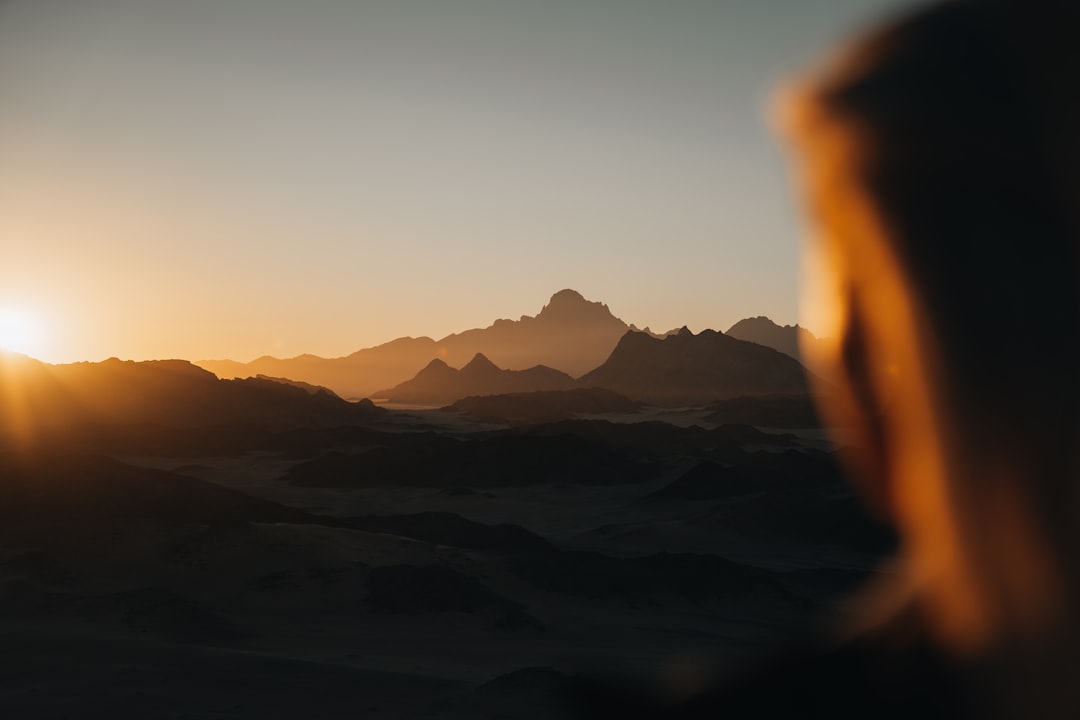
Example of golden hour lighting creating warm tones and long shadows in a landscape photograph.
To make the most of golden hour:
- Plan your shoots in advance using apps like PhotoPills or The Photographer's Ephemeris to predict exactly when and where the sun will be positioned.
- Arrive early to scout your location and set up before the optimal light begins.
- Work efficiently, as golden hour light changes rapidly and doesn't last long.
- Consider backlighting your subjects for dramatic rim lighting effects.
Working with Harsh Midday Sun
While many photographers avoid shooting during midday sun due to its harsh, unflattering light, there are techniques to create compelling images even in these challenging conditions:
- Find or Create Shade: Position your subject in the shade of a building, tree, or use a diffuser to soften the light.
- Use Reflectors: Bounce light back onto your subject to fill in harsh shadows.
- Embrace High Contrast: Use the hard light to create dramatic, high-contrast black and white images.
- Spot Metering: Meter for the highlights or shadows, depending on your creative vision, and let the rest of the image fall where it may.

Using a reflector to balance harsh midday sunlight on a portrait subject.
Overcast Days: Soft Light Paradise
Contrary to popular belief, overcast days provide some of the best conditions for certain types of photography, particularly portraits and macro photography. The clouds act as a giant diffuser, creating:
- Even, soft light with minimal shadows
- Reduced contrast that captures more detail
- Vibrant colors without the washout effect of direct sun
On overcast days:
- Look for openings in the cloud cover where light is slightly stronger, creating subtle directional light.
- Use the soft light to capture detailed textures in landscapes or architectural photographs.
- For portraits, position your subject facing the brightest part of the sky for a subtle catch light in the eyes.
Indoor Natural Light Photography
Working with natural light indoors presents unique challenges but can result in intimate, atmospheric images:
- Window Light: Position your subject near a window, with the light coming from the side, front, or back depending on the desired mood.
- Control the Light: Use curtains or blinds to modify the intensity and direction of window light.
- Reflect and Fill: Use white walls or reflectors to bounce light back into shadow areas.
- Embrace Shadows: Allow for dramatic shadow play by positioning your subject to create interesting patterns.

Portrait utilizing soft, directional window light to create mood and dimension.
Understanding Light Direction
The direction of light relative to your subject dramatically affects the mood and dimension of your photographs:
- Front Lighting: Light coming from behind the camera, illuminating the front of your subject. Creates even lighting with minimal shadows but can appear flat.
- Side Lighting: Light coming from the side of your subject. Creates texture, dimension, and depth through shadows.
- Backlighting: Light coming from behind your subject. Creates dramatic silhouettes or, when exposed properly, a beautiful rim light effect.
- Rim Lighting: A form of backlighting where light creates a "halo" around the edges of your subject, separating them from the background.
Experiment with different light directions to discover which best conveys your creative vision for each photograph.
Conclusion: Practice Makes Perfect
Mastering natural light in photography is a lifelong journey that requires observation, practice, and experimentation. The best way to improve is to photograph the same subjects under different lighting conditions, analyzing how the quality, direction, and color of light affect your images.
Remember that "bad" light doesn't exist—only light that may not suit your current creative vision. By understanding the principles outlined in this guide, you'll be equipped to work with any lighting situation and use it to create compelling, emotive photographs.
What are your favorite natural lighting conditions to work with? Share your experiences and images with our community!