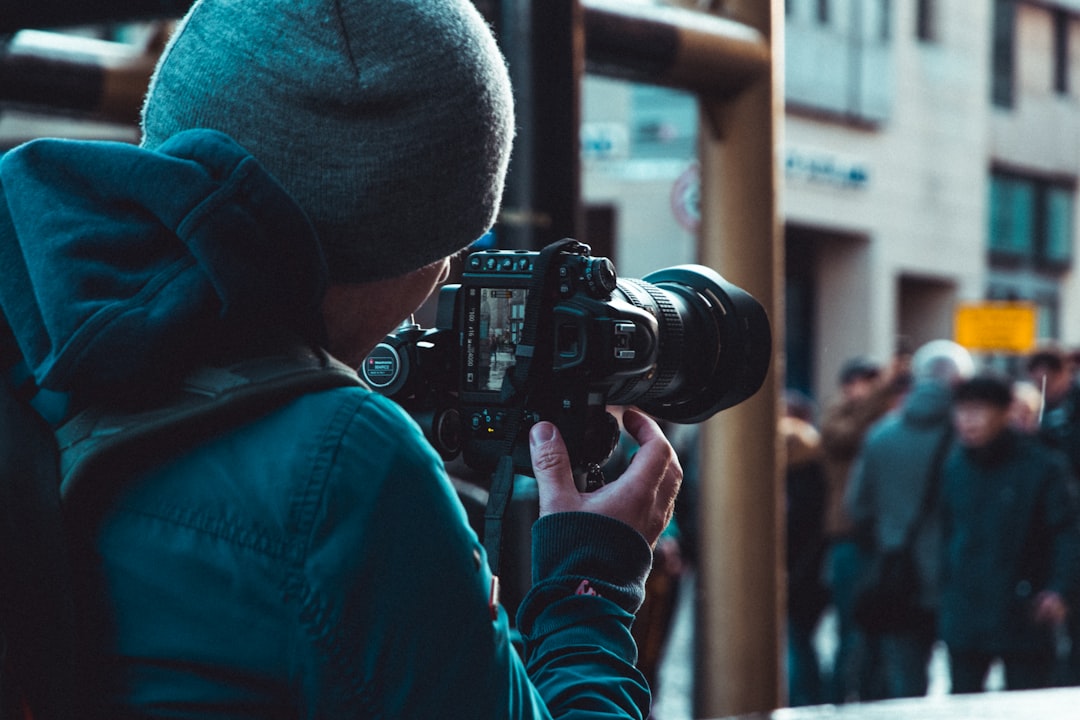
Wildlife photography presents unique challenges that require specialized equipment to capture those magical moments in nature. Whether you're photographing birds in flight, elusive predators, or underwater marine life, having the right gear is essential for success. In this comprehensive guide, we'll explore the equipment that professional wildlife photographers consider must-have items for their field photography sessions.
Camera Bodies: Speed and Durability Matter
When selecting a camera for wildlife photography, several key features should be prioritized:
- Fast Continuous Shooting: Wildlife moments happen in a split second. A camera with at least 8-10 frames per second (fps) continuous shooting capability is ideal for capturing action sequences.
- Large Buffer Capacity: When shooting in bursts, your camera needs to be able to process and store images quickly. A large buffer allows you to shoot more images in succession without the camera slowing down.
- Advanced Autofocus System: Look for cameras with sophisticated autofocus tracking capabilities, particularly those with dedicated animal eye-detection features.
- Weather Sealing: Wildlife photography often takes place in challenging environments. A weather-sealed camera body protects your investment from dust, moisture, and extreme temperatures.
- High ISO Performance: Wildlife is often most active during dawn and dusk when light levels are low. Good high ISO performance allows you to maintain faster shutter speeds in dim lighting conditions.
Professional wildlife photographers typically use full-frame or crop sensor DSLRs or mirrorless cameras from manufacturers like Canon, Nikon, Sony, or Olympus. The specific model choice often depends on personal preference, budget, and the specific wildlife you intend to photograph.
A professional wildlife photography setup with telephoto lens and camera mounted on a gimbal head tripod.
Lenses: Reach Is King
Perhaps the most crucial piece of equipment for wildlife photography is your lens selection:
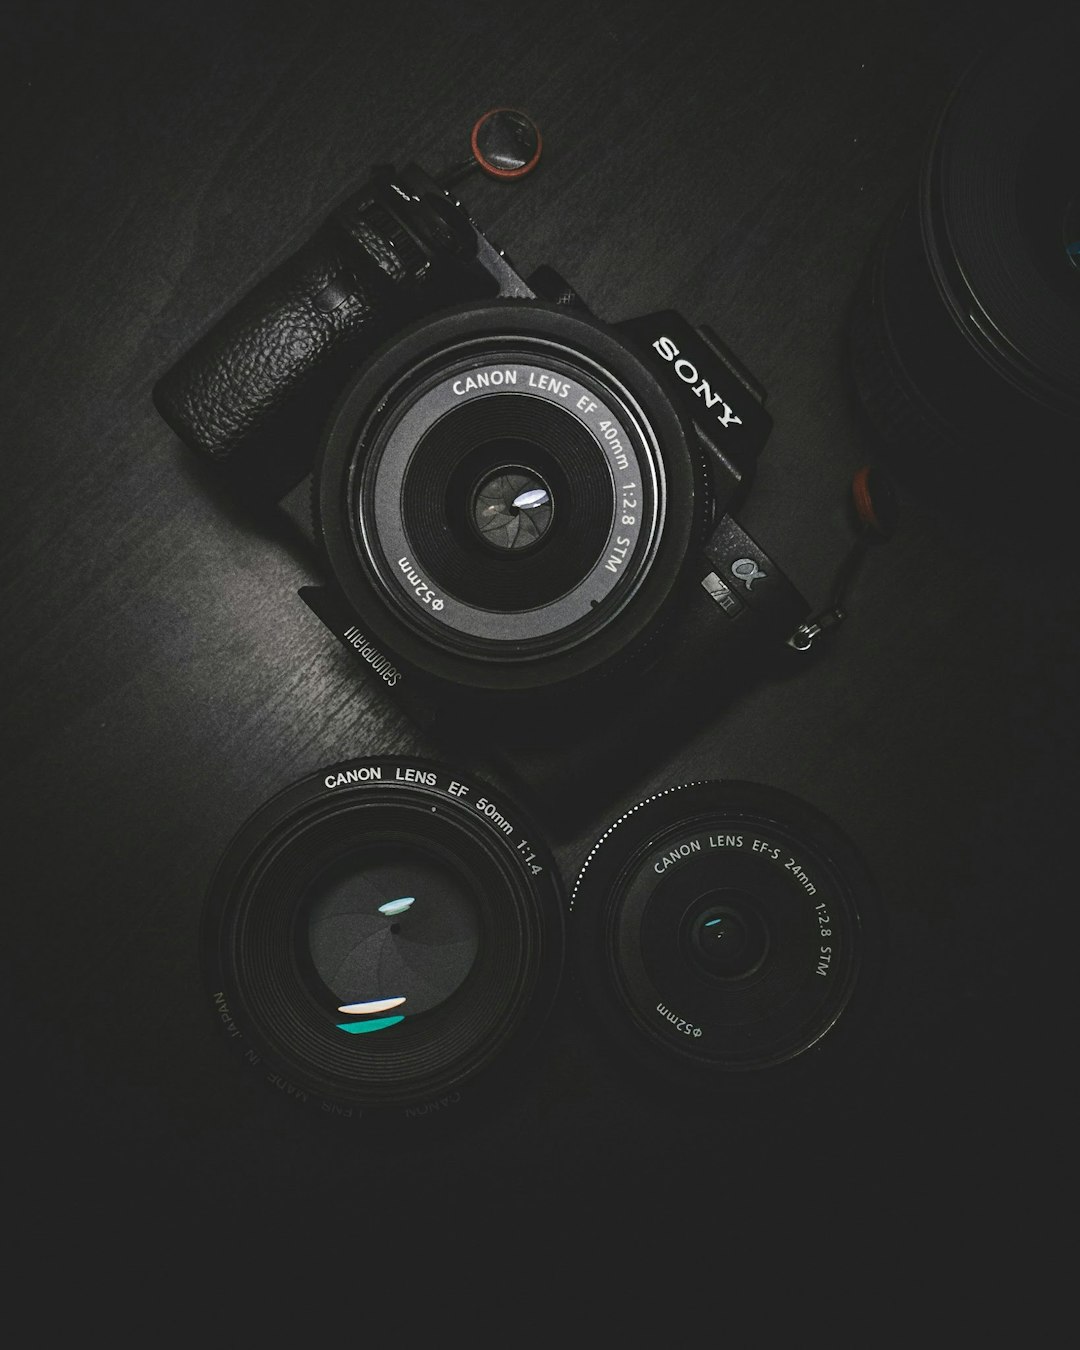
Telephoto and Super-Telephoto Lenses
Wildlife photography almost always requires telephoto lenses to safely capture animals from a distance:
- 70-200mm f/2.8: A versatile lens for larger animals or wildlife that allows closer approach.
- 100-400mm or 150-600mm: Excellent versatile options that provide good reach while maintaining portability.
- 500mm or 600mm Prime Lenses: The gold standard for serious wildlife photographers, offering exceptional image quality and reach, though at a significant price point and weight.
Consider these factors when selecting your wildlife lenses:
- Maximum Aperture: Faster lenses (wider maximum apertures like f/2.8 or f/4) allow more light, enabling faster shutter speeds and creating pleasant background blur that helps isolate your subject.
- Image Stabilization: Essential for handheld shooting with long lenses, image stabilization (IS, VR, OS) can provide 3-5 stops of stabilization.
- Teleconverters: These accessories extend your reach by 1.4x or 2x, though with some loss in maximum aperture and potentially autofocus performance.
Additional Lenses to Consider
- Macro Lens: For close-up photography of smaller wildlife like insects, reptiles, or amphibians.
- Wide-Angle Lens: For environmental wildlife portraits that show animals in their habitat context.
Support Systems: Stability Is Critical
Long telephoto lenses are heavy and magnify even the slightest camera movement. Proper support is essential:
- Tripod: Choose a sturdy tripod that can handle the weight of your longest lens and camera combination. Carbon fiber offers the best combination of strength and lightweight portability.
- Gimbal Head: Unlike ball heads, gimbal heads allow smooth panning and tilting while keeping the weight of heavy lenses balanced. This is ideal for tracking moving wildlife.
- Monopod: When a tripod is impractical (in dense forests or when mobility is critical), a monopod provides a good balance of stability and flexibility.
- Bean Bags: Extremely versatile for supporting your lens on vehicle windows, rocks, or logs when traditional supports are impractical.
A wildlife photographer using a bean bag support on a safari vehicle window.
Essential Accessories
Beyond the basics, several accessories can significantly improve your wildlife photography experience:
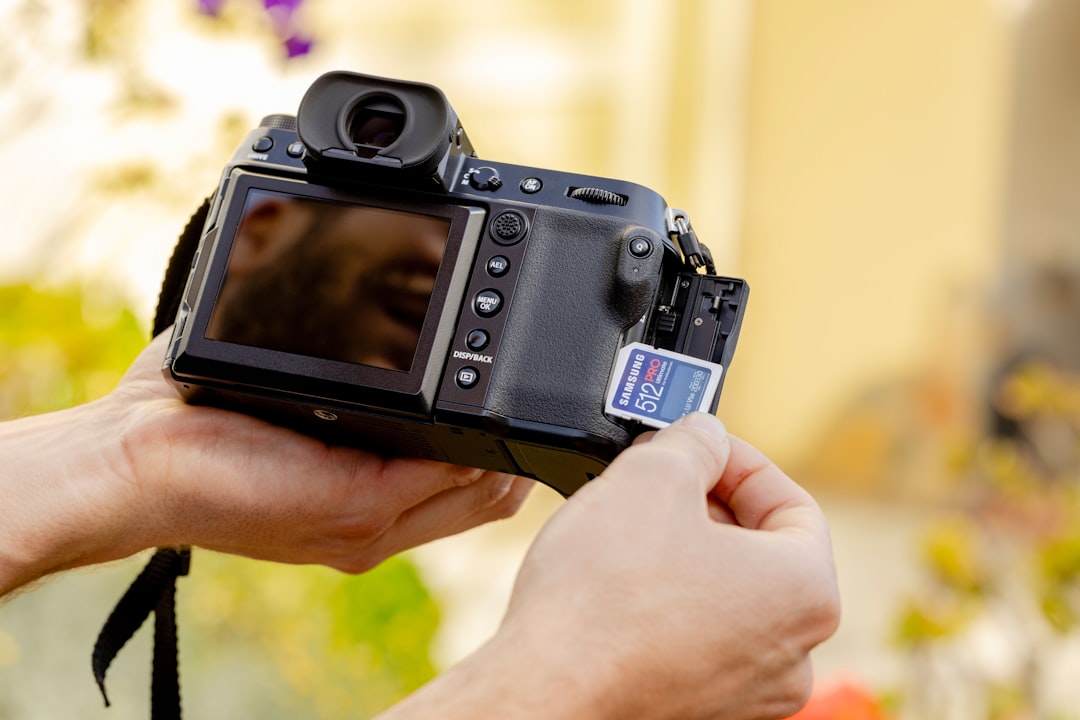
Memory Cards and Storage
- Fast, High-Capacity Cards: Wildlife photography often involves burst shooting, generating large volumes of data. UHS-II SD cards or CFexpress cards with high write speeds prevent buffer limitations.
- Multiple Cards: Always carry spares to avoid running out of storage during critical moments.
- Portable Hard Drives: For backing up images in the field, especially on multi-day expeditions.
Power Management
- Extra Batteries: Cold weather and continuous shooting drain batteries quickly.
- Battery Grips: These extend shooting time and provide better ergonomics for vertical shooting.
- Portable Power Banks: For recharging in remote locations.
Protection and Carrying Solutions
- Weather-Resistant Camera Bag: Protects gear from elements and provides organized storage.
- Lens Rain Covers: Essential protection during unexpected weather changes.
- Lens Coat: Neoprene covers that protect lenses from scratches while also providing camouflage and thermal insulation.
Specialized Wildlife Photography Gear
Depending on your specific wildlife interests, consider these specialized items:
Bird Photography
- Blinds/Hides: Portable camouflage shelters that allow you to get closer to shy birds.
- Flash and Better Beamer: For fill flash in challenging lighting, particularly for birds in flight or under forest canopy.
Underwater Wildlife
- Underwater Housing: Waterproof cases for your camera system.
- Underwater Strobes: Essential for bringing back color at depth.
Remote and Camera Trap Photography
- Remote Triggers: Wireless remotes for firing your camera from a distance.
- Motion Sensors: For automatically triggering your camera when wildlife appears.
- Weatherproof Housing: For long-term deployment of camera traps.
Field Essentials and Personal Gear
Don't forget these items that make wildlife photography more comfortable and successful:
- Appropriate Clothing: Weather-appropriate, quiet, and preferably in natural colors or camouflage patterns.
- Quality Binoculars: For spotting and tracking wildlife before setting up your camera.
- Field Guide or App: For identifying species and understanding behavior.
- GPS Device: For marking productive locations and ensuring you can find your way back.
- First Aid Kit: Safety should always be a priority in remote locations.
Budget Considerations
Wildlife photography equipment can be expensive, but there are strategies for building your kit within different budget ranges:
Entry-Level (Under $2,000)
- APS-C mirrorless or DSLR camera body
- 150-600mm third-party zoom lens (Sigma, Tamron)
- Sturdy tripod with basic head
- Essential accessories (memory cards, extra battery)
Mid-Range ($2,000-$5,000)
- Advanced APS-C or entry-level full-frame camera
- 100-400mm or 200-600mm lens from major manufacturers
- 1.4x teleconverter
- Carbon fiber tripod with gimbal head
- Expanded accessories and carrying solutions
Professional ($5,000+)
- Professional full-frame camera with high frame rate
- Prime super-telephoto lens (400mm, 500mm, or 600mm)
- Complementary zoom telephoto
- Teleconverters (1.4x and 2x)
- High-end support systems
- Complete accessory kit including specialized items
A wildlife photographer with complete gear setup in the field.
Conclusion: Invest Wisely and Gradually
Building a wildlife photography kit is a journey, not a destination. Rather than acquiring everything at once, consider your specific interests and gradually invest in quality equipment that suits your photography style.
Remember that while gear is important, knowledge of animal behavior, fieldcraft skills, and patience are equally crucial for successful wildlife photography. The best equipment is the one that becomes invisible in your hands, allowing you to focus entirely on connecting with your subjects and capturing their essence.
What essential piece of wildlife photography gear has made the biggest difference in your work? Share your experiences in the comments!